Tutorial: Build OPNsense ARM64 images on a RPI4
It has been a long time since the opnsense/tools can build ARM64 images.
While some find it troublesome to cross-build the ARM64 image from an AMD64 machine, I have always built the images on an ARM64 machine. Usually, I use a KVM virtual machine on my Radxa Rock5b, with the four Cortex-A76 cores of RK3588, 12G of memory, and pass-through access to SSD storage; it works like a charm and finishes a fresh new build in 20 hours.
A Raspberry Pi 4B with 4G of memory or above is also more than enough to build the image. As an RPI4 would be more common than an RK3588 board, I will write a tutorial on how to build the image on an RPI4.
1 1 Prepare the hardware
First of all, we need to prepare the hardware:
- an RPI4 with 4G or 8G would be good
- a suitable heatsink for your RPI4
- a power supply that can hold the RPI4 and the storage device
- at least 32G of storage, an SD card, or an SSD drive with USB3.0 to SATA adapter would be much better
- Internet access through Ethernet
- a USB to tty cable to interact with the console; you can also use a monitor and a keyboard instead
- a master machine with Linux or FreeBSD installed that will burn the FreeBSD image, connect the RPI4 through serial console or SSH; you can also do this on a Windows machine if you know what tools to use
2 2 Burn the FreeBSD image
Following the guidance of the official document1, FreeBSD 13.2-RELEASE is what we need for the build system. Note that the required FreeBSD version may change with the updates of the OPNsense version.
Plug the storage device into your master machine, change the sdx to the device name of the storage device, and run the following command to burn the FreeBSD image to the storage device:
wget https://download.freebsd.org/releases/arm64/aarch64/ISO-IMAGES/13.2/FreeBSD-13.2-RELEASE-arm64-aarch64-RPI.img.xz
xzcat FreeBSD-13.2-RELEASE-arm64-aarch64-RPI.img.xz | dd of=/dev/sdx status=progress bs=16M
Then, mount the boot partition of the storage device and edit the config.txt file to enable the serial console:
sudo mount /dev/sdx1 /mnt
echo "uart_2ndstage=1
enable_uart=1" | sudo tee -a /mnt/config.txt
And also, overclock the RPI4 (decent cooling is essential if you are doing this):
echo "over_voltage=6
arm_freq=2000" | sudo tee -a /mnt/config.txt
Then umount the boot partition:
umount /mnt/You could plug out the storage device now.
3 3 Boot and set up the FreeBSD system
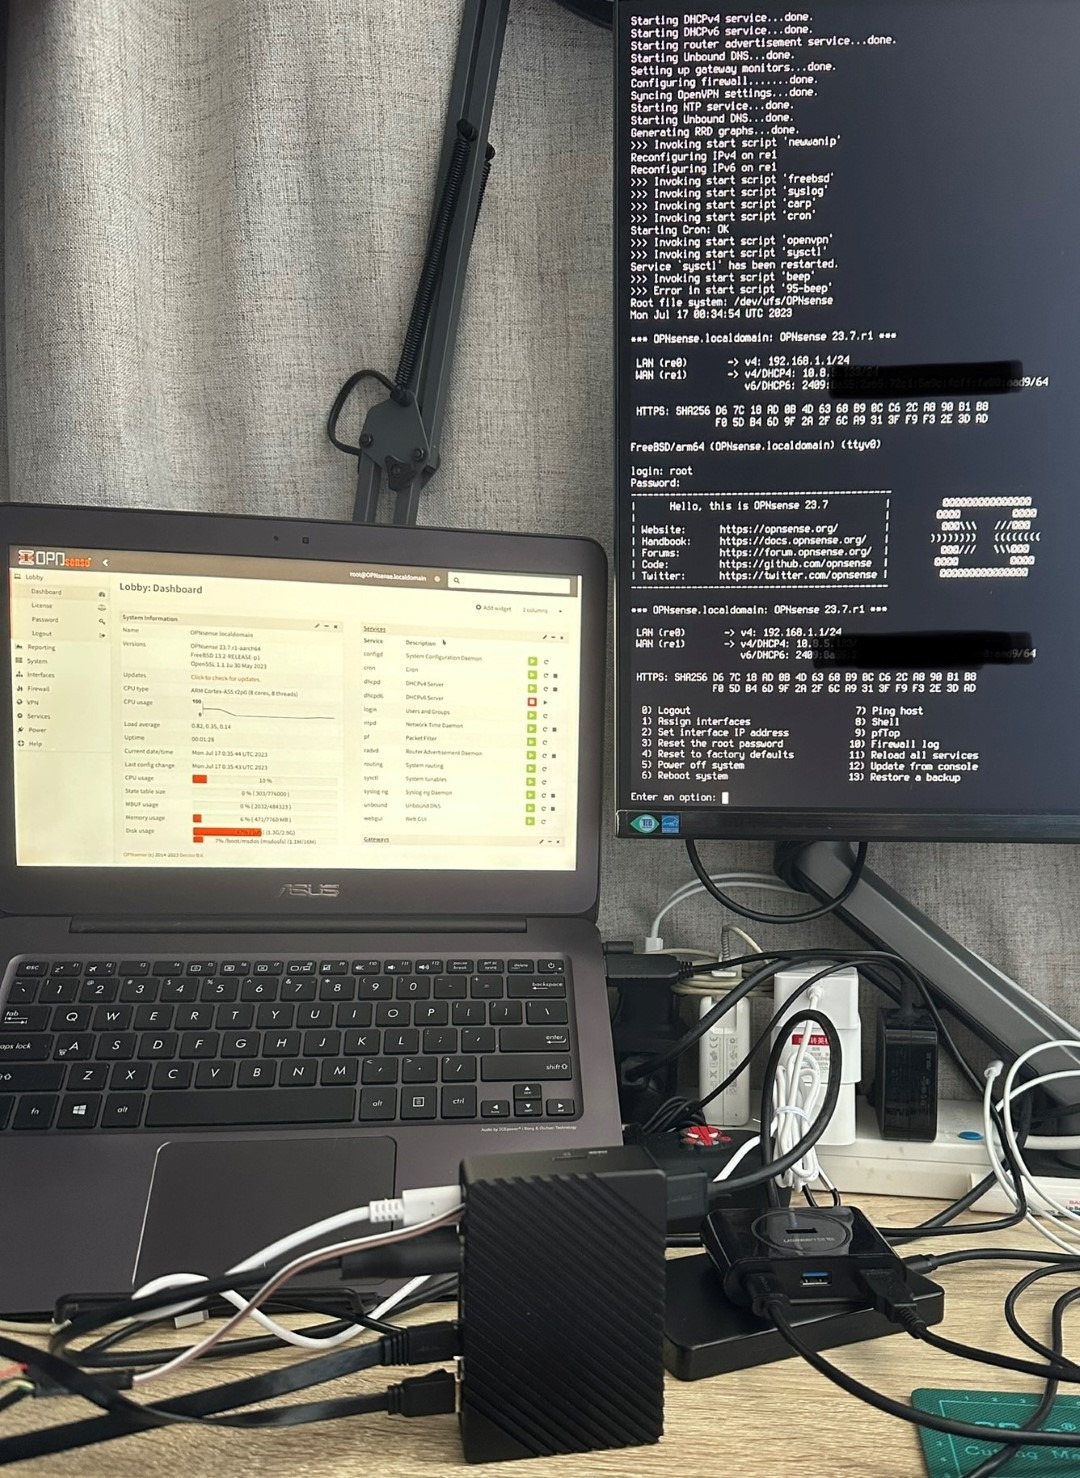
Now, plug the storage device in your RPI4 and the USB to tty cable to the RPI4 and your master machine2. You can now connect to the serial console through the tty cable. You can use minicom or screen on Linux or PuTTY on Windows. And remember to connect the RPI4 to your router or switch. Finally, power it on, and the outputs will shown on the serial console.
$ minicom -c on -b 115200 -D /dev/ttyUSB0
Welcome to minicom 2.9

OPTIONS: I18n
Compiled on Mar 30 2024, 22:46:54.
Port /dev/ttyUSB0, 12:27:09

Press CTRL-A Z for help on special keys

Read start4.elf bytes  2228800 hnd 0x00000000
Read fixup4.dat bytes     5448 hnd 0x00000000
Firmware: 564e5f9b852b23a330b1764bcf0b2d022a20afd0 Feb 25 2021 12:10:40
0x00c03111 0x00000000 0x000000ff
MEM GPU: 76 ARM: 947 TOTAL: 1023
Starting start4.elf @ 0xfeb00200 partition 0

...

Mon Apr  8 15:19:49 CST
FreeBSD/arm64 (freebsd) (ttyu0)

login:
The default passwords are root/root and freebsd/freebsd. Here, we will use the root account to log in and set up the system.
# enable powerd to
sysrc powerd_enable="YES"
/etc/rc.d/powerd restart
# sync time
ntpdate pool.ntp.org
# update the system
pkg update
pkg upgrade
# install some tools
pkg install -y sudo git rpi-firmware u-boot-rpi4
# set up sudoer
echo 'Defaults env_keep += "HOME"
%wheel ALL=(ALL) NOPASSWD: ALL' >> /usr/local/etc/sudoers.d/wheel
And get the IP address of the RPI4:
$ ifconfig genet0 | grep inet
inet 10.8.5.150 netmask 0xffffff00 broadcast 10.8.5.255
4 4 Prepare the building environment
Now, we can abandon the not-so-user-friendly serial console and switch to SSH instead.
$ ssh freebsd@10.8.5.150
(freebsd@10.8.5.150) Password for freebsd@freebsd:
Last login: Mon Apr  8 15:34:17 2024 from 10.8.5.15
FreeBSD 13.2-RELEASE releng/13.2-n254617-525ecfdad597 GENERIC

Welcome to FreeBSD!

Release Notes, Errata: https://www.FreeBSD.org/releases/
Security Advisories:   https://www.FreeBSD.org/security/
FreeBSD Handbook:      https://www.FreeBSD.org/handbook/
FreeBSD FAQ:           https://www.FreeBSD.org/faq/
Questions List:        https://www.FreeBSD.org/lists/questions/
FreeBSD Forums:        https://forums.FreeBSD.org/

Documents installed with the system are in the /usr/local/share/doc/freebsd/
directory, or can be installed later with:  pkg install en-freebsd-doc
For other languages, replace "en" with a language code like de or fr.

Show the version of FreeBSD installed:  freebsd-version ; uname -a
Please include that output and any error messages when posting questions.
Introduction to manual pages:  man man
FreeBSD directory layout:      man hier

To change this login announcement, see motd(5).
You can often get answers to your questions about FreeBSD by searching in the
FreeBSD mailing list archives at

        http://freebsd.markmail.org
freebsd@freebsd:~ %
Here, we continue to prepare the building environments.
# clone the opnsense/tools
sudo git clone --depth=1 https://github.com/opnsense/tools.git /usr/tools
# fetch all source codes
sudo make -C /usr/tools update
# make and install the old version of pkg used by opnsense
cd /usr/ports/ports-mgmt/pkg/
sudo make -j4
sudo make reinstall
5 5 Build OPNsense
Now, we are all ready to build!
First, build ARM64 common targets step by step.
sudo make -C /usr/tools/ VERSION=24.1.5 DEVICE=ARM64 base
sudo make -C /usr/tools/ VERSION=24.1.5 DEVICE=ARM64 kernel
sudo make -C /usr/tools/ VERSION=24.1.5 DEVICE=ARM64 ports
sudo make -C /usr/tools/ VERSION=24.1.5 DEVICE=ARM64 plugins
sudo make -C /usr/tools/ VERSION=24.1.5 DEVICE=ARM64 core
sudo make -C /usr/tools/ VERSION=24.1.5 DEVICE=ARM64 packages
Before building the ’ ports ’ target, you can also fetch all the distfiles. It will consequently create a tar file of around 30G, which will be extracted during the following steps, thus requiring an extra 60G free space.
# before make ports
sudo make -C /usr/tools/ VERSION=24.1.5 DEVICE=ARM64 distfiles
And after packages target is built, we can now build system images:
sudo cp -lv /usr/local/opnsense/build/24.1/aarch64/sets/base-24.1.5-aarch64.txz /usr/local/opnsense/build/24.1/aarch64/sets/base-24.1.5-aarch64-RPI.txz
sudo cp -lv /usr/local/opnsense/build/24.1/aarch64/sets/kernel-24.1.5-aarch64.txz /usr/local/opnsense/build/24.1/aarch64/sets/kernel-24.1.5-aarch64-RPI.txz
sudo make -C /usr/tools/ VERSION=24.1.5 DEVICE=RPI arm
You can also change DEVICE from RPI to other ARM64 machines listed under /usr/tools/device/; remember to install PRODUCT_WANTS packages in the config file before build.
Finally, we get our sets and images:
/usr/local/opnsense/build/24.1/aarch64/
├── images
│   └── OPNsense-24.1.5-arm-aarch64-RPI.img
├── logs
└── sets
    ├── aux-24.1.5-aarch64.tar
    ├── base-24.1.5-aarch64-RPI.txz
    ├── base-24.1.5-aarch64.txz
    ├── distfiles-24.1.5.tar
    ├── kernel-24.1.5-aarch64-RPI.txz
    ├── kernel-24.1.5-aarch64.txz
    └── packages-24.1.5-aarch64.tar
6 6 Tricks to accelerate the build
The build process may take over 2 days. And here are some tricks for you to accelerate the whole process.
- Use a faster storage device
The need for more storage speed is the main bottleneck of the build process. You can use an SSD drive with a USB3.0 to SATA adapter.
- Use a good heatsink and overclock the RPI4
The four Cortex-A72 cores of RPI4 are relatively poor in terms of heavy compiling work. Overclocking the RPI4 to 2.0GHz can help a little. And a suitable heatsink is also essential to keep the system stable.
- Use
screencommand
The whole process takes a long time. Therefore, you may need to use the screen command to keep the build process running even if you are disconnected from the SSH session.
- Reduce workload by deleting ports and packages.
The packages that need to be built are configured in the /usr/tools/config/24.1/ directory, mainly in ports.conf and plugins.conf. You can delete the ports and packages you don’t need to reduce the total workload.
- Try an ARM64 machine, which has better performance than RPI4
If you have a powerful ARM64 machine, like a RK3588 board, you can use it to build the image. Although FreeBSD may not be installed on the bare machine, you can still use a KVM virtual machine to run the FreeBSD building environment. And it will be much, much faster.
Related Content

Crowdfunding a new SBC, buy me a cpu of coffe, or ask me to get a recent update on OPNsense firmware repo
Sponsor